The documents below contain installation and software downloads for the DSR1 signal processor.
| Installation Guides |
- DSR1- 8-Channel Interactive Signal Processor w/ Integrated iDatalink Maestro Module [Download Installation Guide]


| PerfectTune™ App Download |
- The Rockford Fosgate® PerfectTune™ app is designed for use with the Rockford Fosgate DSR1 8 Channel Interactive Signal Processor with Integrated iDatalink Maestro Module. PerfectTune™ allows initial setup and configuration of the DSR1 and make adjustments required to tune the system for best audio performance.


| DSR1 Software Update Instructions |
- Launch Web Browser (Chrome, Edge, Safari, etc)
• WebLink is compatible with Windows & Mac.
- Go To Maestro Site
• weblinkupdater.com/weblinkdesktop/
- Install "Weblink Desktop" (For PC and Mac)
- For Mac: Select your operating system. Click the Apple menu icon, then choose "About This Mac". Choose the proper OS from the dropdowns
- If your Mac OS is not listed, the Weblink Desktop application will not work.
- Click the download icon to the right
- For Mac: Select your operating system. Click the Apple menu icon, then choose "About This Mac". Choose the proper OS from the dropdowns

- Connect DSR1 to PC
• Use the micro-USB to USB cable included in your DSR1 package.
• Please use the USB cable supplied with the DSR1. Failure to do so (using a longer cable) may cause connection problems.
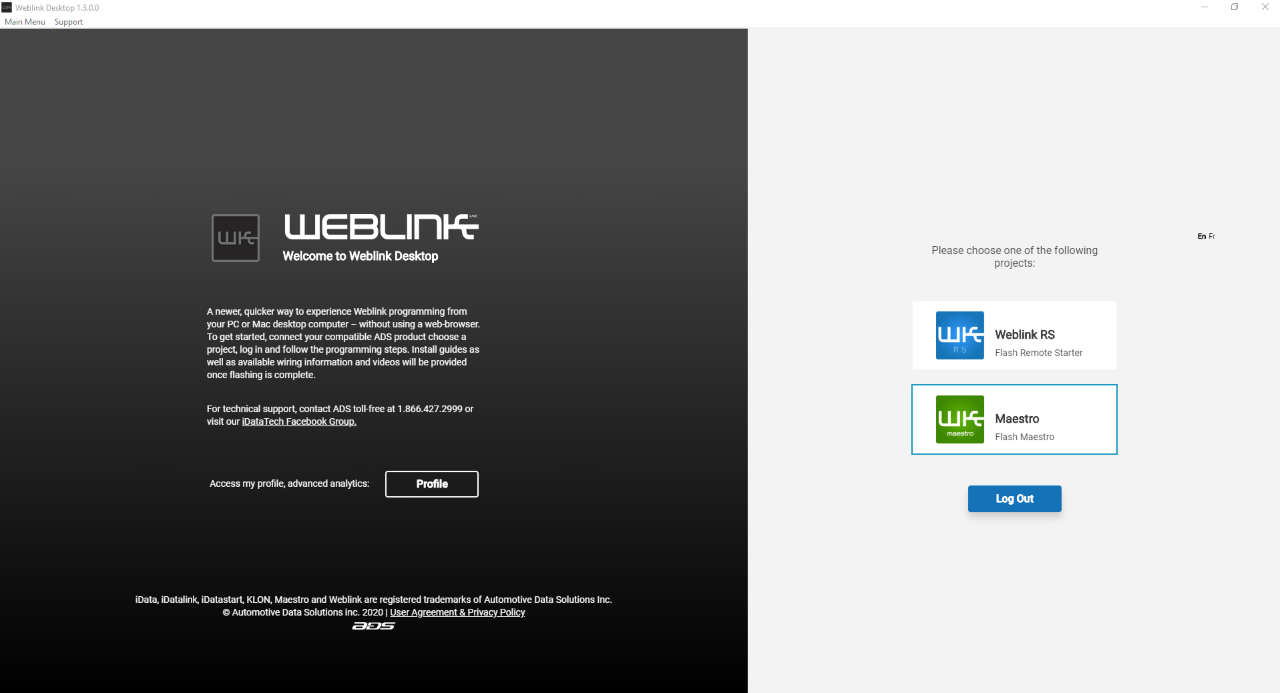
- Launch Weblink Desktop
- Log in to your existing Weblink account.
- Don't have an account? Click "Sign up" below the log in button.
- If making a new account, you will have to check your email for an activation link to enable your account.
- Do NOT use Demo mode. It will not program your DSR1.
- Log in to your existing Weblink account.

- Click on "Flash Maestro"
• Wait for Weblink to recognize the DSR1.
• If the DSR1 is not recognized, disconnect and reconnect USB cable or try another USB port on the computer.
• Be sure only the Weblink Desktop site is open, DO NOT open DSR1 Updater utility at this time.

- Enter Your Login Information

- Embedded Device (BLEARDC) update.
• Click "Re-Flash Embedded Device"
• The DSR1 mainboard firmware v1.5.6.0 and above requires a Bluetooth update and re-flash of the Maestro settings.

- After Flash has been completed, select “RE-DETECT”

- Click “FLASH BY VEHICLE”

- Select Vehicle Year and Make.
• For Universal Mode (RCA Output,) select "Other".
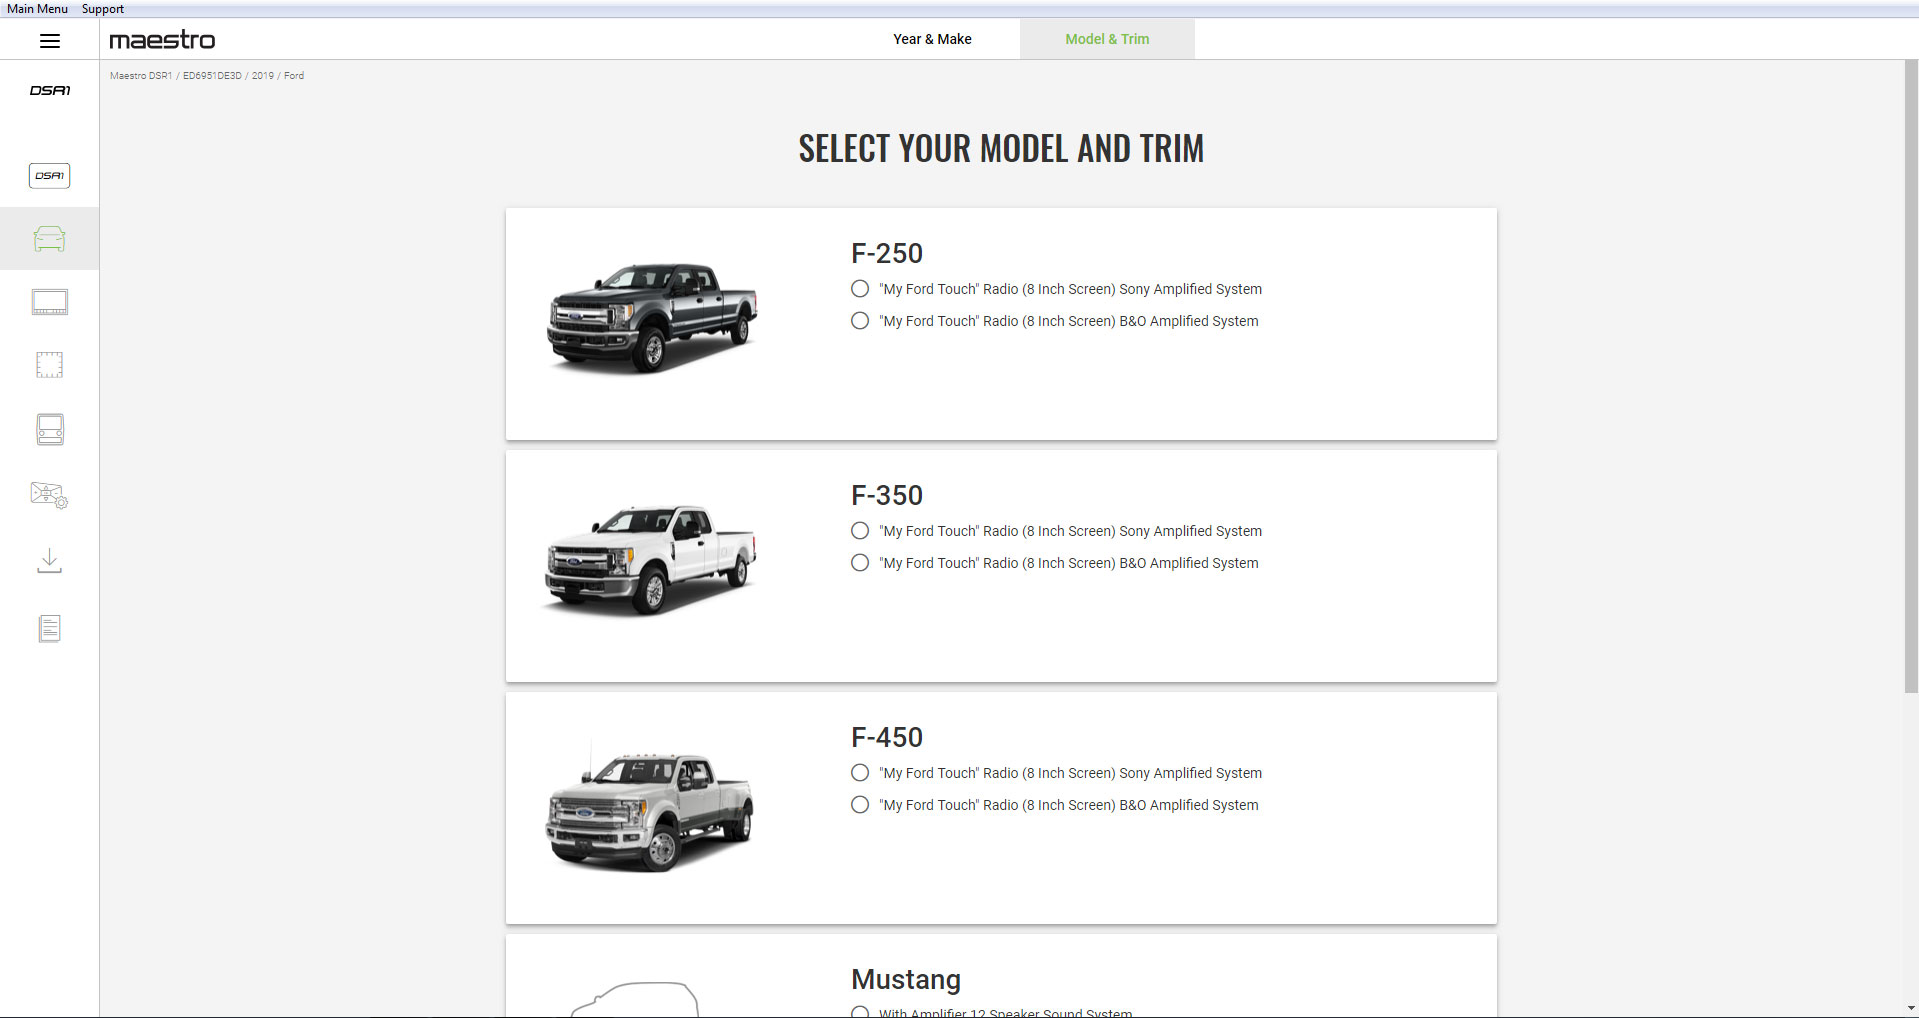
- Select Your Model and Trim

- Select Your OEM Radio

- Select the Recommended Firmware

- Select the Accessories being used. Click "Continue"

- Select Optional OEM controls. Click "Continue"

- Click “FLASH”
• DO NOT disconnect USB cable while programming the module.

- When done, "The Flash Was Completed With Sucess” will appear

- Close Weblink Desktop program before using DSR1 Updater program


| Update DSR1 Software |
- Download DSR1 Updater Software
• Download and Launch the DSR1 Updater program from the below chart.
• Only have DSR1 Updater utility open. DO NOT keep Maestro site and DSR1 Updater utility open simultaneously.
DSR1 Updater Software Release Version Description Notes
(*.txt)Software
(*.exe)06/18/2018 2.1.1 - Fixed issue of not reading two-digit version numbers correctly
- Fixed issue of not automatically detecting device on startupnotes 
05/21/2018 2.1.0 - Fixed issue of closing out app in order to program another device
- Improved installation processnotes 
04/23/2018 2.0.0 - Fixed issue that could cause the device to be bricked if the USB cable was unplugged during upgrade process
- Misc improvements and bug fixesnotes 10/27/2017 1.1.3 - Added factory reset option for all audio settings (default is off) notes 09/06/2017 1.0.4 - Original MP Release notes DSR1 Updater Software
• This is the default screen for the DSR1 Updater.
Connect to DSR1
• Under Step-1 click "Scan For Devices".
• Device should be detected automatically.
Download and Install DSR1 Firmware (DSRA)
• Download latest DSRA file from chart below.
• Extract DSRA file from ZIP using unpacker utility like 7-Zip or Win-Zip before proceeding.
• Under Step-2 click “Open File” button to select the DSRA file downloaded from website above.
• Check box to "Reset DSR1 to Factory Settings" (important if problems arise or installing in a different vehicle.)
• Confirm the update file version number.
DSRA Firmware Downloads Release Version Description
Notes
(*.txt)Software
(*.dsra)7/26/2022 1.9.8.0 - Fixed issue where some amplifiers would have pop noises when powered on. notes 
5/29/2019 1.9.4.0 - Add PLC control task restart when received DSP task readiness, to fix bug of no subwoofer output in started car with PLC2 connected.
- Change ADS volume back to 80dB.notes 
02/20/2019 1.9.3.0 - Fixed issue of volume resetting when switching back from navigation to music in Maestro mode notes 11/11/2018 1.9.2.0 - Fixed occasional turn-on pop noise in standalone mode in some vehicles notes 10/18/2018 1.9.0.0 - Added support for adjustable delay feature notes 08/28/2018 1.8.1.0 - Fixed misc. issues notes 08/22/2018 1.7.3.0 - Re-Flash DSR1 using Weblink when running T-Harness on this firmware
- Fixed issue of no audio after phone call in Maestro mode
- Fixed issue of no audio after Siri voice prompt in Maestro mode
- Changed radio volume knob minimum range from -60dB to -80dB in Maestro modenotes 06/01/2018 1.7.0.0 - Re-Flash DSR1 using Weblink when running T-Harness on this firmware
- Improved compatibility with PTS (push-to-start) vehicles
- Changed default crossover alignment from Butterworth to Linkwitz-Riley
- Fixed issue resulting in lower system gain after uploading preset to device
- Fixed Maestro issue of volume mismatch when switching from phone to music
- Fixed Maestro issue of glitch when switching between phone and musicnotes — 04/10/2018 1.5.6.0 - Re-Flash DSR1 using Weblink when running T-Harness on this firmware
- Added support for Toyota Maestro vehicles
- Fixed issue of device restarting in some start-stop vehicles
- Fixed issues of loud chimes / voice / navigation in Maestro mode
- Fixed issue of low output voltage sensitivity in Maestro mode
- Improved Bluetooth communication with APP
- Misc. fixes and improvementsnotes — 03/12/2018 1.4.4.0 - Re-Flash DSR1 using Weblink when running T-Harness on this firmware
- Fixed issue of pop when switching to Bluetooth for voice callnotes — 03/12/2018 1.4.3.0 - Re-Flash DSR1 using Weblink when running T-Harness on this firmware
- Fixed issue no audio when switching to SPDIF input mode—
03/02/2018 1.4.2.14 - Re-Flash DSR1 using Weblink when running T-Harness on this firmware
- Improved vehicle communication in Maestro mode
- Improved app communication
- Fixed issue of loss of audio on ignition due to low battery
- Fixed issue of turn-on / turn-off pop in some installations
- Fixed issue of Maestro chime volume too loud
- Fixed issue of Maestro slow chime latencynotes — 12/05/2017 1.4.1.0 - Re-flash DSR1 via Weblink if using T-harness with v1.3.x.x or newer
- Increased turn-off delay from 0.5 to 4 seconds to fix occasional turn-off pop in non-Rockford amplifiersnotes — 11/27/2017 1.4.0.0 - Re-flash DSR1 via Weblink if using T-harness with v1.3.x.x or newer
- Added ability to read on/off state of customer selectable radio functions from Maestro for APP compatibilitynotes — 11/10/2017 1.3.1.0 - Re-flash DSR1 via Weblink if using T-harness with v1.3.x.x or newer
- Fixed issue where rapid presses of bass, mid or treble buttons on radio caused temporary loss of audionotes — 10/31/2017 1.3.0.0 - Re-flash DSR1 via Weblink if using T-harness with v1.3.x.x or newer
- Fixed issue of Maestro radio commands resetting subwoofer level and Punch EQ when no PLC knob connectednotes — 10/06/2017 1.2.6.0 - Fixed issue of Maestro radio commands resetting PLC2 knob level
- Set default PLC2 knob function to not connectednotes — 09/27/2017 1.2.5.0 - Fixed rare issue of unit switching to aux or changing PLC level with no PLC knob attached notes — 09/08/2017 1.2.4.0 - Changed default crossover alignment from Butterworth to Linkwitz
- Fixed iDataLink volume resetting to max after changing channel config in APP
- Added volume ramp to improve popping issue
- Improved APP preset upload transfer time
- Updated device information reported to APP
- Fixed popping issue when adjusting crossovers on channels with trim levels set less than 0.0 dB
- Fixed iDataLink chime not playing on correct channel
- Changed iDataLink communication activity LED color to green
- Fixed issue where changes to channel configuration in APP would cause iDataLink to stop responding
- Improved iDatalink chime generationnotes — 09/06/2017 1.2.3.0 - Fixed issue where changes to channel configuration in APP would cause iDataLink to stop responding notes — 09/05/2017 1.2.2.0 - Fixed iDataLink chime not playing on correct channel
- Changed iDataLink communication activity LED color to greennotes — 08/30/2017 1.2.1.0 - Fixed popping issue when adjusting crossovers on chanels with trim levels set less than 0.0 dB notes — 08/11/2017 1.2.0.1 - Updated device information reported to APP notes — 08/10/2017 1.2.0.0 - Improved APP preset upload transfer time notes — 07/25/2017 1.1.1.0 - Changed default crossover alignment from butterworth to linkwitz
- Fixed iDataLink volume resetting to max after changing channel configuration in APPnotes — 06/26/2017 1.0.0.0 - Original MP Release notes —
Program Device
• Click “Upload To Device” to start programming.
• Wait for programming process to complete.
• WARNING: Do not turn-off power of disconnect USB cable during the update process!

Confirm Firmware
• Confirm updates were properly flashed to DSR1
• Disconnect USB from computer
• Disconnect USB from DSR1
Cycle Power
• When installing the DSR1 into a vehicle, cycle Power ON, then back OFF to commit any remaining updates.


Was this article helpful?
That’s Great!
Thank you for your feedback
Sorry! We couldn't be helpful
Thank you for your feedback
Feedback sent
We appreciate your effort and will try to fix the article